STEP 01
First
conversation
You reach out, or we meet at a conference, or a district you know sends you our way. Then we talk. What the room is now, what you want it to become, when you need it, and who else needs a say.
STEP 02
Site visit and
measurements
You reach out, or we meet at a conference, or a district you know sends you our way. Then we talk. What the room is now, what you want it to become, when you need it, and who else needs a say.
STEP 03
Your budget,
with options
Working from the scan, Sean builds you a Budget Builder that shows what is possible at several investment levels instead of one take it or leave it number. A Budget Summary then turns the direction you pick into a firm figure.
PO signed. Design begins.
You sign off on the artwork, the colors, the placements and the scope. Everyone has watched the design develop, so approval is a confirmation rather than a reveal.
Artwork approved. Scope locked.
STEP 07
Installation planning
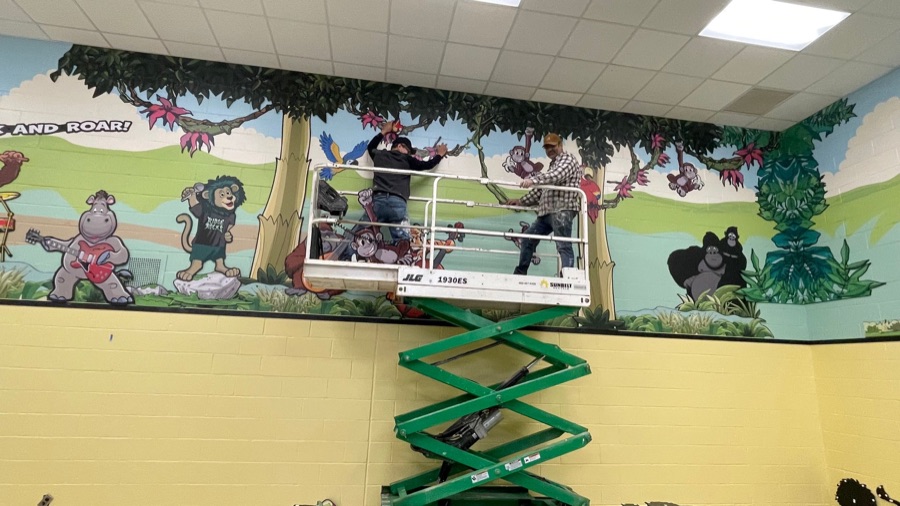
We schedule around your calendar, including nights, weekends, holidays and breaks, and we plan access, lifts and sequencing so the building reopens on time.
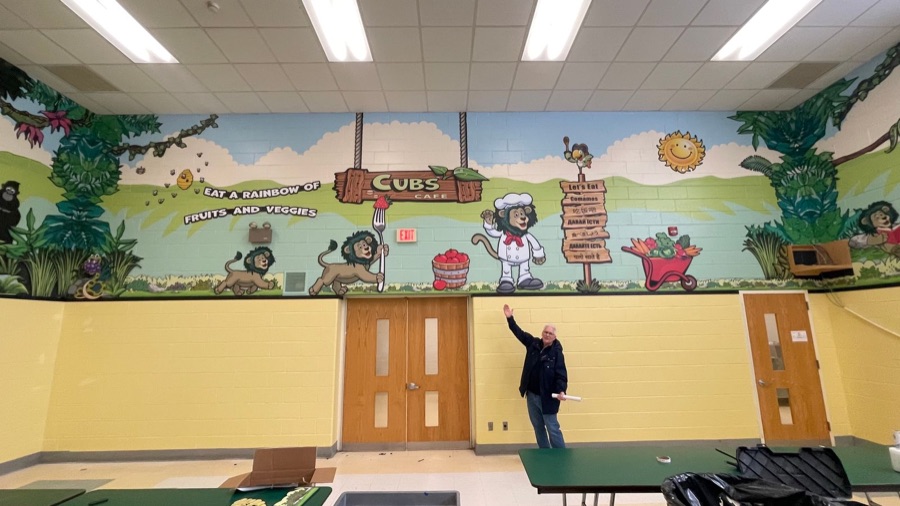
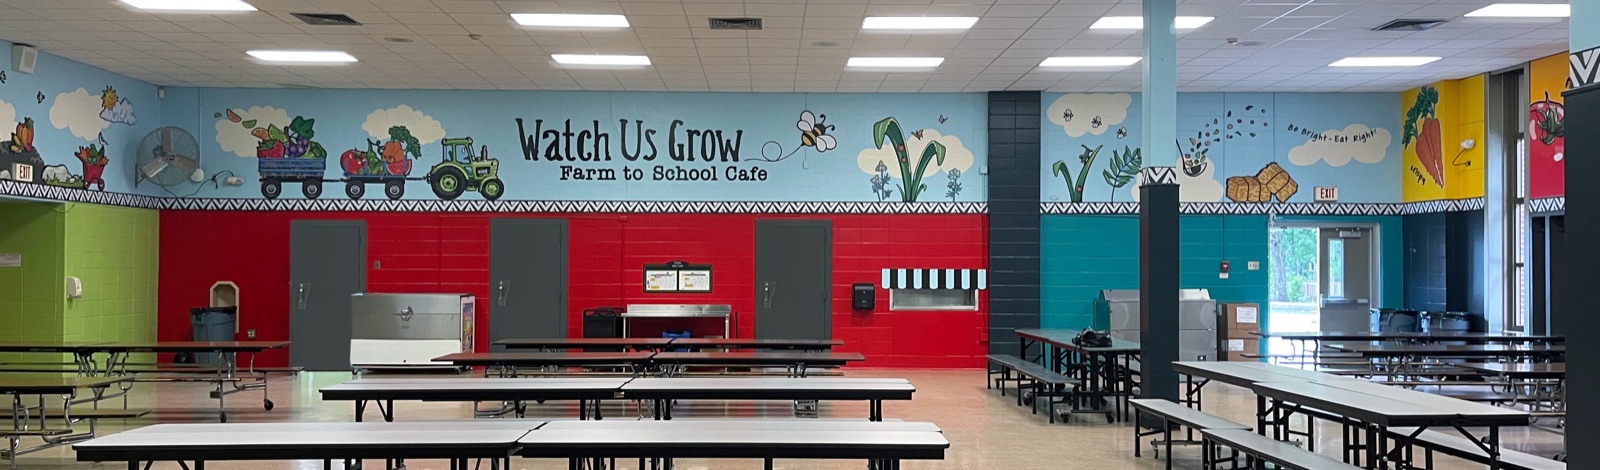
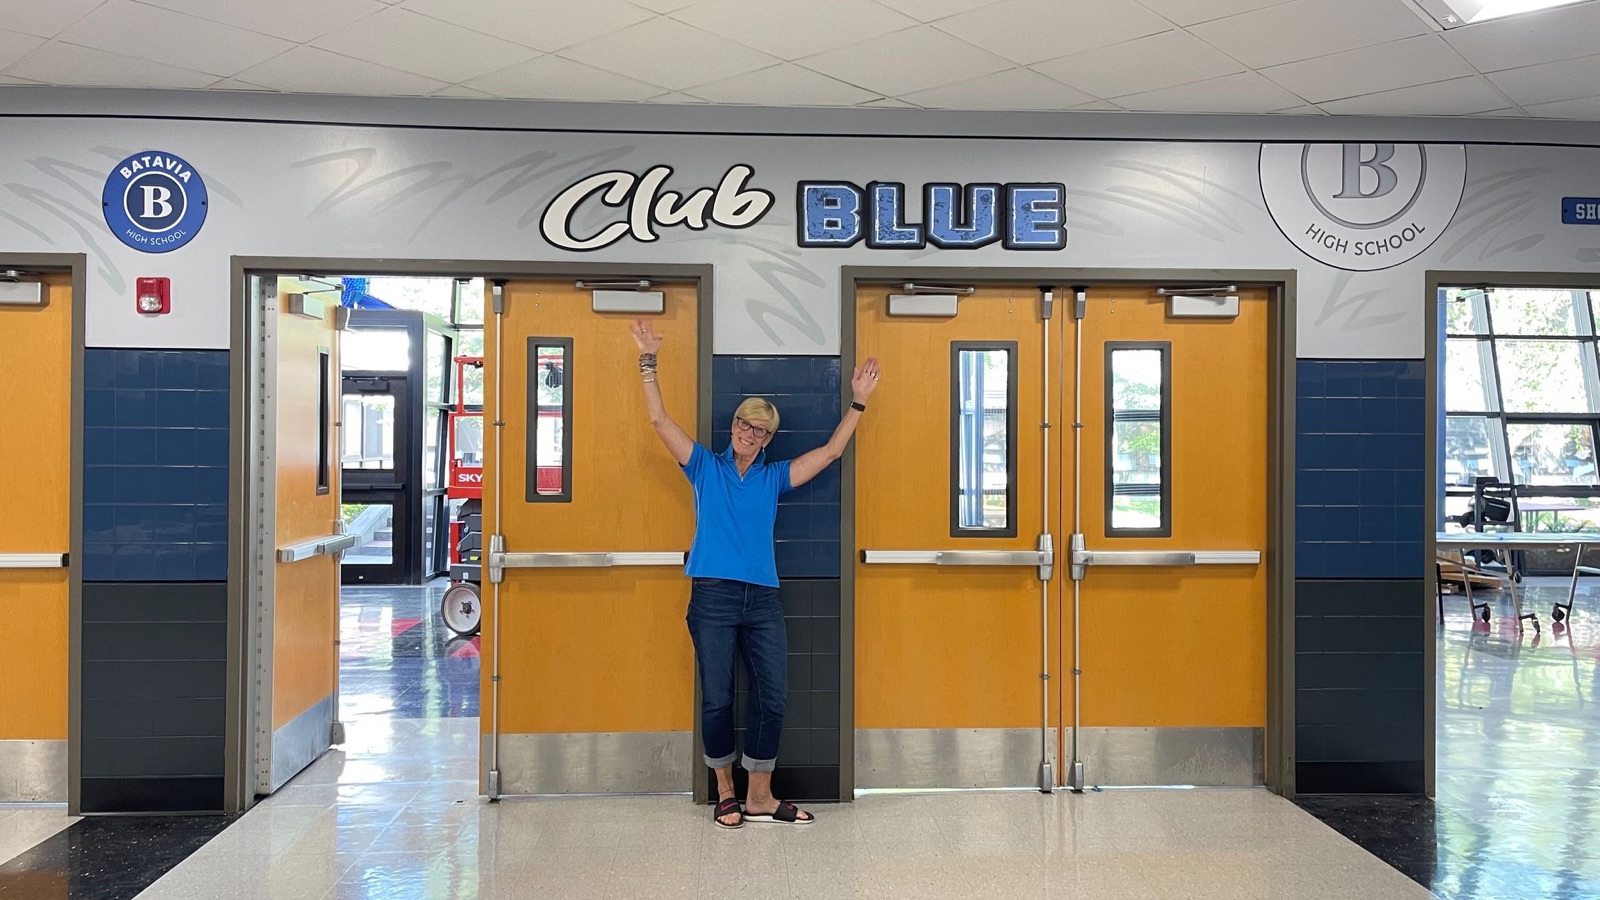
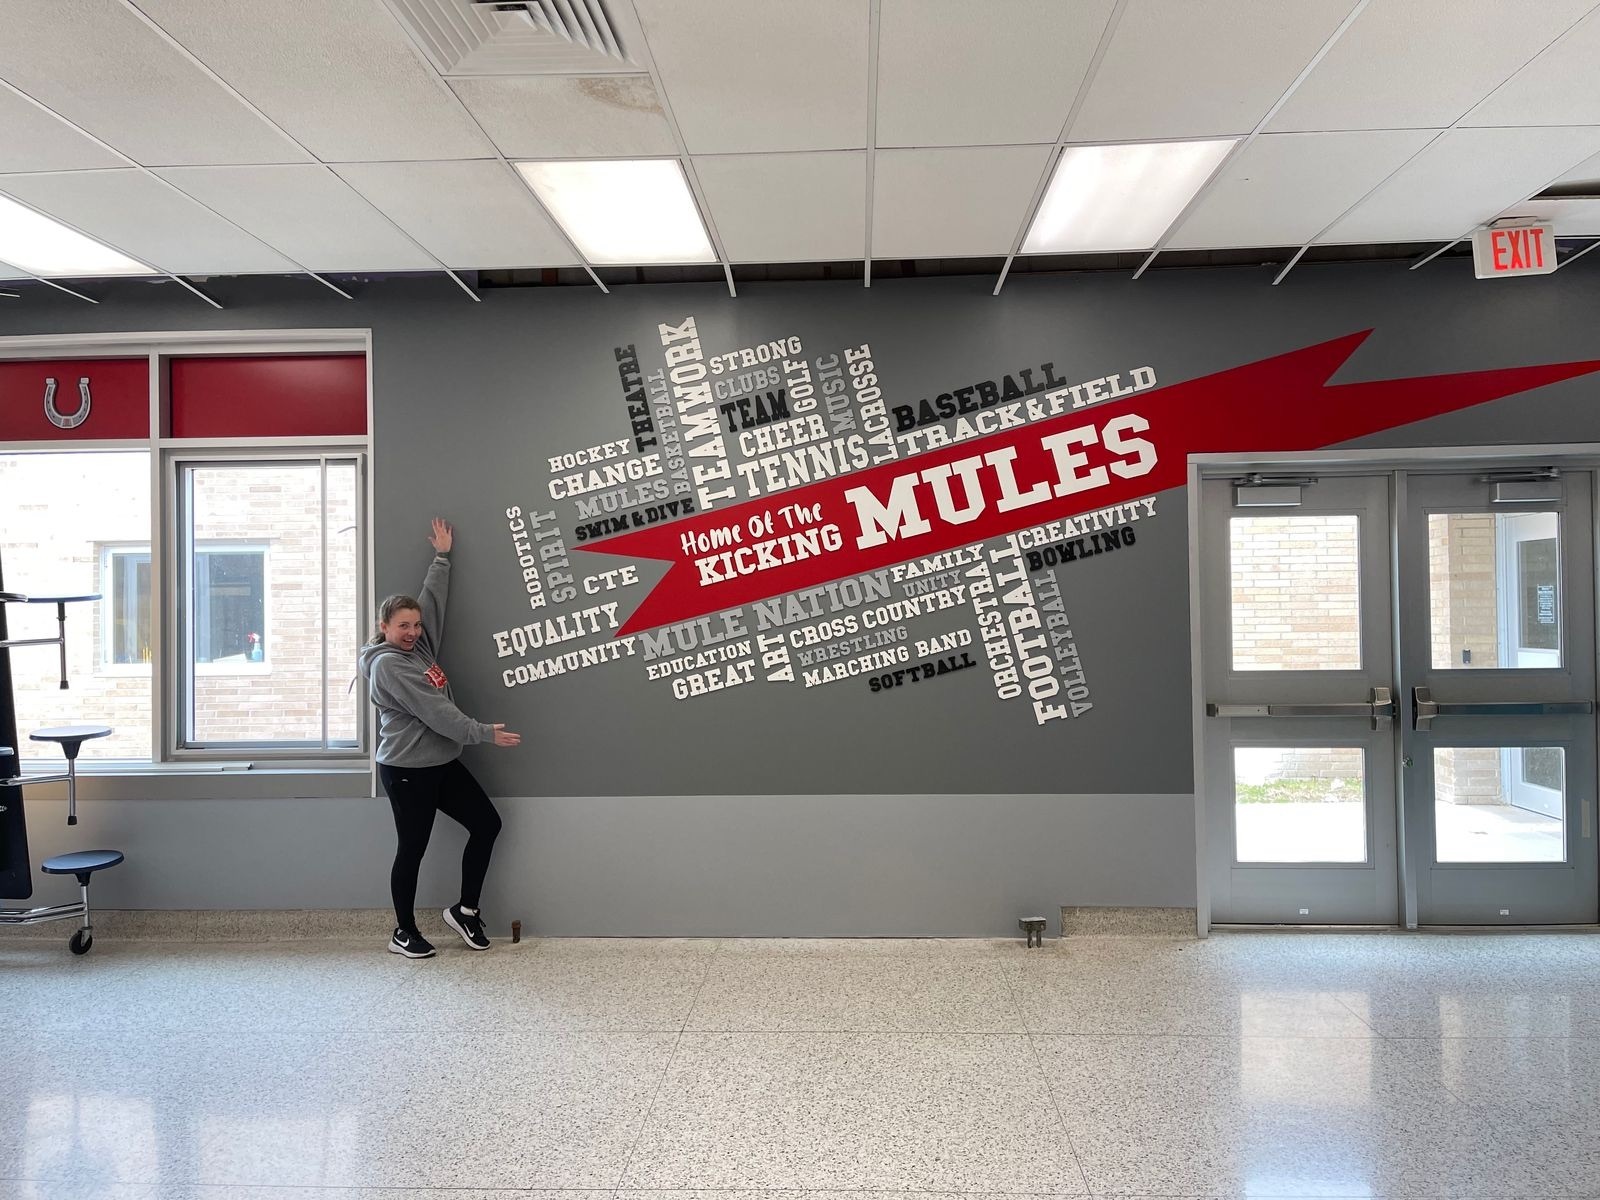
Graphics and painting go up together, which is what makes a room read as built rather than decorated. Fun painting adds texture and depth. Most installs run three to six days, and we walk the finished space with you at the end.
You get the paint specifications and a Sherwin Williams custodial touch up list, with chair rail and maintenance colors confirmed. We keep your files, so any panel, letter or mascot can be remade to match years later.